

Physical Therapy at Home
Safe Rehabilitation Exercises to Restore Strength, Mobility, and Confidence Without a Clinic
Recovery225 pagesPublished 25 January 2026Kindle, paperback & hardcoverRecovery
Rebuild strength, mobility, and confidence, safely, without needing a clinic.
If you’re rehabbing at home after an injury, pain flare-up, or long break from activity, you don’t need extreme workouts or confusing routines. You need a clear system: a baseline you can repeat, simple rules for progression, and conservative exercises that restore capacity without triggering setbacks.
Physical Therapy at Home gives you a calm, step-by-step approach to home rehab built on three principles:
• Calm replaces urgency
• Consistency replaces guesswork
• Intelligent progression replaces “push through” advice
Inside you’ll learn:
- Safety rules, red flags, and simple “stop rules” (so you know what’s normal and what needs care)
- How to measure progress without obsessing, using repeatable tests and next-day honesty
- Pain vs productive discomfort (and how to adjust range, load, and volume in real time)
- A conservative, adaptable 7-Day Reset Plan to calm symptoms and restart momentum
- Mobility, strength, balance, core control, and walking/cardio fundamentals, built for real life
- Safe regional templates for knee, hip, back, shoulder, neck, and foot/ankle rehab
- Flare-up management, a structured 30-Day Rehab Plan, and a long-term maintenance routine
This is not medical advice. It’s educational guidance designed to help you move more safely at home, with clear boundaries for when to consult a qualified clinician, especially if symptoms are severe, worsening, or uncertain.
If you want a practical home rehab system you can actually stick to, this book is your guide.
Read the first chapter
Chapter One: How Home Rehab Really Works
Sarah had tried everything. Three physiotherapy clinics, two online programs, and a drawer full of resistance bands she'd used exactly twice. After knee surgery she'd been told to “do her exercises,” but no one had shown her how to build a routine she could actually keep. One morning, sitting on the edge of her bed with her leg throbbing from yesterday's overly ambitious stair workout, she made a decision. She'd stop chasing the perfect routine and start building a repeatable one. That single shift changed everything.
What will feel different after this chapter (your rehab map)
Y
ou’ll know how to set a baseline that’s safe and repeatable.
You’ll have a simple progress/hold/regress rule so you stop guessing.
You’ll understand why “doing less” can create more progress early on.
You’ll be able to build a home routine around capacity + control, not motivation.
The core idea: the Home Rehab Flywheel
Home rehab is a flywheel: small inputs, repeated, build momentum.
Clinic rehab often works because it provides structure: a plan, a dose, and feedback. At home, the missing ingredient isn’t “better exercises.” It’s a system that produces steady exposure to safe load and range.
Think of recovery as two tracks running together:
Tissue capacity (muscle, tendon, joint tolerance): built by appropriate load and volume.
Nervous system confidence (your threat alarm): built by calm, controlled movement experiences that end well.
When you push too hard, you may overload capacity and trigger the alarm. When you avoid movement completely, capacity shrinks and the alarm gets louder. The middle path is the flywheel: practice that's challenging enough to matter, but safe enough to repeat.
The practical system: the 3-question daily protocol
This is the simplest way to run your home program without overthinking:
Step 1 · Define your “Today Baseline” (2 minutes)
Ask:
What movements feel safe and controlled right now?
Where is my tolerance today: range, load, and volume?
Choose a baseline that you can repeat tomorrow. If you’re unsure, go easier.
Baseline examples:
Range: partial squat to a chair instead of full depth.
Load: bodyweight instead of bands/weights.
Volume: 2 sets instead of 4; 5-minute walk instead of 20.
Step 2 · Train inside the “Green Zone”
Use this simple stoplight:
Green: symptoms 0–3/10, feel controlled, settles within an hour → continue.
Yellow: 4–5/10 or feels “irritated,” still controlled, settles by next day → reduce range/load/volume.
Red: sharp pain, loss of control, new nerve symptoms, or worse next day for 24–48 hours → stop, regress, reassess (and see Chapter 2 for red flags).
Rehab can include discomfort. It shouldn't include panic, sharpness, or loss of control.
Step 3 · Apply the 48-hour decision rule
The next day (and sometimes the day after), decide:
Progress if: symptoms are stable or improving AND the work felt controlled.
Hold if: symptoms are stable but you feel “near the edge.”
Regress if: symptoms are worse beyond 24–48 hours, or your movement quality dropped.
Progression options (choose ONE at a time):
Add 1–2 reps per set
Add 1 set
Add a small amount of range
Add a small amount of load
Add a small amount of walking time
Progression isn't “more everything.” It’s one notch.
Step 4 · Build a routine you can keep: the 20-minute anchor
Most people don’t need longer sessions, they need repeatability.
A reliable home session looks like:
Reset (3–5 min): breathing + gentle range (calm your system).
Skill (5–8 min): controlled movement practice (balance, hinge, squat pattern).
Strength (8–10 min): simple resistance (legs/hips/push/pull/core).
Carryover (2–5 min): a walk, stairs practice, or daily task rehearsal.
If you only have 10 minutes, do reset + one strength move. Consistency beats the perfect session you do twice.
Common mistakes (and the steadier replacement)
Mistake 1: Chasing the “right” exercise instead of the right dose
Do instead: pick a safe pattern (squat, hinge, push, pull, carry, step) and adjust range/load/volume.
Mistake 2: Treating pain as a scoreboard
Pain is information, not a grade. It can lag behind effort. Do instead: prioritize control and next-day honesty.
Mistake 3: Random workouts (high variability, low adaptation)
Your body adapts to repeated signals. Do instead: run the same small menu of exercises for 2–4 weeks, then adjust.
Mistake 4: Big jumps because you had a “good day”
Good days are great, but they’re not permission slips. Do instead: progress one notch, keep the flywheel smooth.
Mistake 5: Resting until you feel 100%
That often backfires. Do instead: keep a minimum routine during rough weeks (we’ll build this in Chapters 5 and 18).
That is the end of chapter one.
The rest of Physical Therapy at Home is waiting for you.
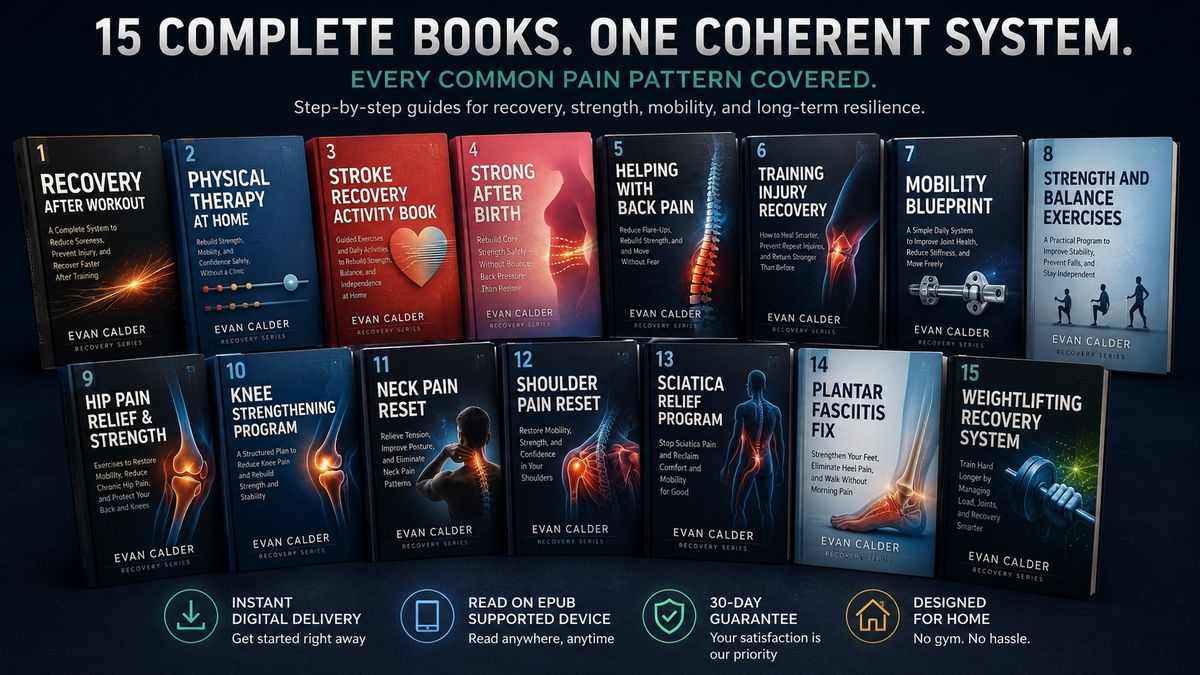
The series
Recovery Series
- Book 1Recovery After Workout

- Book 2Physical Therapy at HomeYou are here

- Book 3Stroke Recovery Activity Book

- Book 4Strong After Birth

- Book 5Helping With Back Pain

- Book 6Training Injury Recovery

- Book 7Mobility Blueprint

- Book 8Strength and Balance Exercises

- Book 9Hip Pain Relief & Strength

- Book 10Knee Strengthening Program

- Book 11Neck Pain Reset

- Book 12Shoulder Pain Reset

- Book 13Sciatica Relief Program

- Book 14Plantar Fasciitis Fix

- Book 15Weightlifting Recovery System


About the author
Evan Calder
Recovery Guide
Evan Calder is a movement and recovery educator specializing in injury rehabilitation, physical resilience, and long-term strength for everyday people. His work focuses on helping readers rebuild confidence in their bodies after pain, injury, illness, or major life changes, without relying on extremes, shortcuts, or fear-based advice.
More about Evan Calder